












English


Gameplay
Diablo 4 Nightmare Dungeon Guide




A lot of players grab their first Nightmare Sigil in World Tier 3 and jump right in, only to get flattened two pulls later. I did the exact same thing when I started running Nightmare Dungeons. Didn't bother reading the affixes on the sigil, walked in, and suddenly everything had poison damage and volcanic eruptions going off under my feet. It felt terrible.
Nightmare Dungeons are one of the core endgame activities in Diablo 4. Glyph experience, gear drops, even your gold income all tie back to them. But figuring out how to run them, which ones to pick, and when to push higher tiers... that stuff only really clicks after you've made a few mistakes.
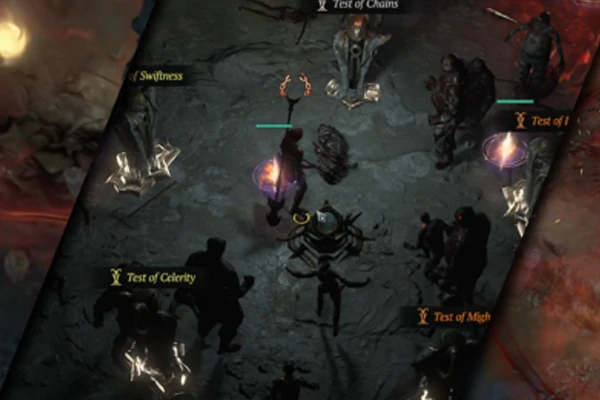
How to Get and Upgrade Nightmare Sigils
Nightmare Sigils are your tickets into Nightmare Dungeons, and they don't just show up whenever you want them.
Here's where you get them:
- Complete Whispers of the Dead tasks in World Tier 3 or higher. Tree of Whispers caches have a chance to drop sigils, and this is your most reliable source early on.
- Clear a Nightmare Dungeon and the final boss plus completion reward can drop more sigils, so the activity feeds itself.
- World Bosses and Legion events drop them occasionally. The rate isn't great, but if you're there anyway, take the free roll.
- While you're inside a Nightmare Dungeon, enemies and chests can drop additional sigils. A good run sometimes nets you two or three.
Don't just pop a sigil the moment you get it. Check the tier first. Sigils range from tier 1 to 100, and each tier scales the difficulty. Stick to tiers 1 through 5 when you're still in World Tier 3. Save tier 20 and above for World Tier 4. Be honest with yourself about your glyph levels, your gear quality, and whether your key aspects are in place. If any of those are lacking, you're just wasting time going in underprepared.
Sigils have another use: salvaging. Take the low-tier ones you're never going to run to the Occultist and break them down for Sigil Powder. Once you've stockpiled enough, you can craft new sigils right there at the same NPC. It's basically a reroll mechanic for your dungeon keys, and sometimes what you craft turns out better than what drops. One thing worth noting — salvaging sigils and crafting new ones both happen at the Occultist, not the blacksmith. The blacksmith handles gear and weapons only.
Which Affixes to Avoid and Which to Ignore
The biggest difference between Nightmare Dungeons and regular dungeons is the affixes. Every sigil rolls a mix of positive and negative modifiers. The positives are whatever... if you get a good one, nice. The negatives are what you actually need to pay attention to, because some of them will end your run before it starts.
From my own experience, these are the ones you want to dodge:
- Volcanic. Flame gouts constantly erupt under your feet during combat. For melee builds this is miserable because you're forced to keep repositioning mid-fight, and some boss arenas don't give you enough safe floor space.
- Poison Damage Bonus. Especially when paired with elite modifiers. One elite drops a poison pool and you're dead before you can react.
- Lightning Storm. You have to stand inside a bubble to avoid getting struck. Fine solo, but in a group someone always zones out and gets oneshot.
- Overpower Resistance. If your build relies on Overpower damage, this affix kneecaps you. Overpower Druid runs into this and suddenly hits like a wet noodle.
- Critical Strike Resistance. If crit chance and crit damage are your main scaling vectors, this one tanks your clear speed hard.
On the flip side, some affixes look scary but really aren't:
- Melee attackers dealing extra lightning damage. The damage isn't that high. As long as you're not standing still eating every hit, you'll be fine.
- Enemies leaving poison pools on death. Just watch your positioning. Not a real threat.
- Barrier explosion on break. Unless you're playing a melee build that hugs everything, you won't even notice this.
When you're sorting through sigils, look at the negative affixes first. The positive ones are a bonus. If there's even one negative affix that messes with your build, salvage the sigil. Don't feel bad about it. Wasting a sigil is cheaper than wasting a run.
How Different Classes Approach Dungeon Selection
Not every Nightmare Dungeon plays the same way for every class. Map layout, monster types, boss mechanics... all of it changes how smooth or painful a run feels.
Necromancer is the least map-dependent class in my opinion. Your minions form a front line while you hang back and cast. Narrow corridors actually work in your favor because enemies bunch up and get wiped in one rotation.
Barbarian cares a lot more about map structure. Wide open spaces make it harder to group things up efficiently. Room-based layouts feel much better... clear one room, move to the next, keep a steady rhythm. Barbarians can also struggle with single-target boss damage, so dungeons where the boss spawns a ton of adds actually go smoother because you can stack bleeds and spin through everything at once.
Rogue demands good mechanics and hates tight spaces. You need room to reposition, kite, and create distance. Open maps are way more comfortable. The tradeoff is that Rogue boss kill speed is among the fastest in the game. As long as you don't get oneshot, the single-target burst is on another level.
Sorcerer and Druid fall into the middle ground. They can handle most maps without any glaring weak spots, but they don't dominate any particular layout either. For these two, affixes matter more than the map itself. Pick based on what your build can handle, not the dungeon name.
One trick worth mentioning: after you've run a particular dungeon once, you'll know whether the layout is linear or full of backtracking, how dense the monster packs are, and whether the boss is a pushover or a problem. Keep a mental list of the efficient ones. When you see those names on a sigil, save them.
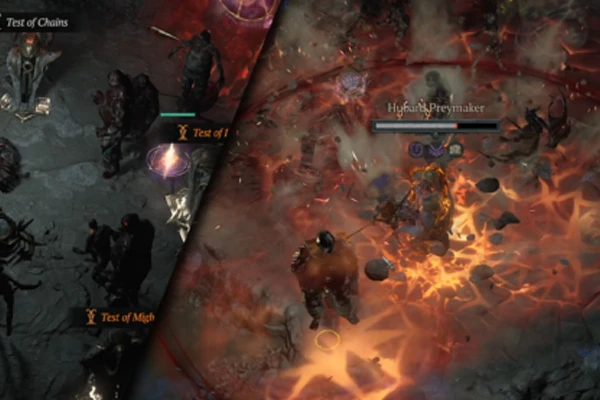
Glyph Leveling and the Paragon Board
Glyphs are the most direct payoff you get from running Nightmare Dungeons. After clearing one, the Awakened Glyphstone at the end lets you pour experience into whichever glyphs you have equipped.
Level 15 is the real breakpoint. At 15, a glyph's radius expands, reaching more nodes on your Paragon board. That means your early priority should be getting your core glyphs to 15 one at a time, rather than spreading experience thinly across six different glyphs.
Glyph experience scales with sigil tier. If the tier is way above your comfortable range, the bonus experience per run looks appealing, but the math doesn't hold up when you factor in clear time. Aim for sigils about 3 to 5 tiers above what you can farm without dying. Enough pressure to keep things interesting, not enough to wipe you. Push too high and your experience per hour actually drops, even though the per-run number is bigger.
On the Paragon board, a lot of players tunnel vision on legendary nodes and completely skip the rare and magic nodes clustered around glyph sockets. Those overlooked nodes are often where your real damage comes from. When a glyph hits 15 and its radius expands, nodes that were just out of reach suddenly become available. Every time you level a glyph to 15, take a minute to reopen your Paragon board and check what new nodes you can grab. Sometimes one extra rare node is all it takes to feel the difference.
Setting a Sustainable Farming Rhythm
The worst thing you can do with Nightmare Dungeons is grind them mindlessly. I had a stretch where I'd log in, pop sigils, clear dungeons back to back, and do nothing else for hours. After three days of that, my gains were mediocre and I was completely burned out.
Here's the rhythm I settled into:
- Run 5 to 8 Nightmare Dungeons per session. Weave in World Events and Tree of Whispers tasks between them so it doesn't turn into a monotonous slog.
- Port back to town the moment your inventory fills up. Identify everything, sell the junk, salvage the legendaries. Don't wait until your bags are completely gridlocked.
- After identifying gear, stash it instead of making snap decisions. Go through everything at the end of your session. Gear that looked useless at first glance sometimes just needs a different aspect or a single affix reroll to become usable.
- If your main goal is glyph XP, stick to sigils in a tight tier range and chain them efficiently. Maximize experience density.
- If you're farming for gear, prioritize dungeons with high monster density. More kills means more drops, simple as that.
One personal habit I've stuck with: spend 30 seconds before each dungeon checking your potions, incense, and healing charges. Nothing worse than hitting the halfway point of a run and realizing you're out of healing. Incense is genuinely useful at this stage... the bonus experience plus the stat boost, and one batch covers about half an hour, which lines up perfectly with five or six dungeon runs.
Nightmare Dungeons really come down to familiarity. Once you recognize the dangerous affixes on sight, once you know the efficient maps by name, once you have a realistic read on your build's limits... the efficiency takes care of itself. Don't rush to push high tiers. A tier you can clear consistently without dying will always pay out more over time than barely scraping through a higher tier and failing the next three attempts.


