












English


Guide
Fallout 76 How to Launch Nukes Faster?




In Fallout 76, launching a nuke is central to finishing the main quest and to several high-level public events. For a first-time silo run, the whole process tends to take a long time, and the main reason is not the number of enemies—it is being unfamiliar with the silo's layout and not having the launch code, nuclear keycard, and mainframe cores ready beforehand. Part of the launch can be prepared ahead of time, and part of it can be shortened through specific methods. Stock the right supplies before you enter, learn the basic flow of the Alpha, Bravo, and Charlie silos, and you can cut out most of the wasted movement and pointless fighting.
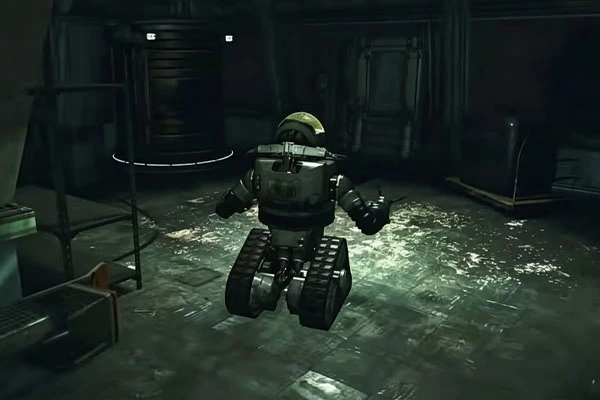
Get Your Code and Keycard Ready Beforehand
Launching a nuke requires the launch code for the specific silo you are in. The game's intended approach is to have you hunt down Scorched officers, collect code pieces, and decrypt them through channels like the Whitespring command center. Alpha, Bravo, and Charlie each use a different code, and the codes refresh on a cycle. To save prep time, look up the current codes before you go. Common tools include third-party databases such as NukaCrypt, which show this week's launch codes directly. You also need to prepare nuclear keycards in advance. Keycards come mainly from shooting down cargobot convoys, and it is worth carrying two or three spares so a mistyped code does not kill the run.
Before you head in, check the following:
Launch code: confirm the current code for Alpha, Bravo, or Charlie.
Nuclear keycard: bring spares so a mistyped code or another mistake does not waste one.
Silo status: use the Missile Silo State Holotape to see whether a silo is on cooldown.
Target: decide your target zone ahead of time so you can finish target selection quickly once inside.
Every silo enters a cooldown after a launch, so do not camp outside a silo that is still cooling down. If one silo is unavailable, use another.
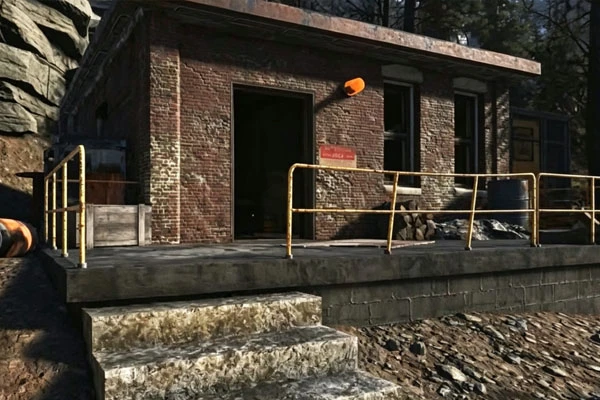
Learn the Silo Flow
Inside the silo, you move through several areas of defenses and equipment in order. On your first run, it is worth learning the whole flow once; after that, you can speed up specific steps. The reactor-room pipe repair is one of the easier places to lose time. If your character has the right lockpicking and hacking, you can use high-level lockpicking and terminal access to deal with the security system and skip repairing each pipe one by one. The mainframe cores can also be prepared in advance. The silo needs multiple mainframe cores to progress, so bringing already-repaired cores lets you skip hunting down damaged ones and fixing them on the spot. If you would rather repair them yourself, gather the materials first. The usual requirements are:
Steel: the base material for repairing cores.
Circuitry: used to repair the electronic parts of the cores.
Bring enough materials, or carry the repaired cores outright, and you cut down the time you spend inside. For players who want to finish fast, the point of a silo run is not to clear every enemy but to reach the objective quickly. There is no need to hunt down every robot for extra kills.
Leave Enough Time for the Final Stage
Launch prep is the part of the run that is hardest to compress. Once you start the final launch sequence, you have to protect the launch crew while they finish their work. Even if you have cleared everything else, this stage still has to play out on its own. During it, keep the objective safe first and do not spend time chasing stray enemies. If a crew member goes down, you have to redo part of the process, which only adds time.
So once the final stage begins, try this approach:
Protect the launch crew first: deal with anything closing in on them before it breaks a crew member.
Skip unrelated fights: you do not have to clear the whole room, only the enemies that threaten the objective.
Watch the respawns: use the space well so you are not constantly tied down by a steady stream of robots.
The final prep usually takes a set amount of time, and it is the one part you cannot skip. Use that window to sort your gear, top up ammo, or watch the progress bar, rather than fighting needlessly.
Gear and Perk Cards That Speed Things Up
The right gear and perk cards take a lot of pressure off a silo run, especially if you farm silos often.
Master Infiltrator: a max-rank Master Infiltrator speeds up lockpicking and hacking, which is very useful if you enter silos often. Resolving those devices quickly means less time standing at locks and terminals.
Flame weapons: fire weapons are good for groups of robots. If the weapon carries a vampire effect, the hits also restore health and keep you fighting. Against clustered robots, area damage beats picking them off one by one.
Ricochet with a vampire weapon: Ricochet gives you a defensive edge against ranged attacks, and combined with a vampire weapon it improves your staying power. For players who know the silo route, this means fewer stops and fewer restocks.
VATS weak points: several robots have clear weak spots, and targeted VATS hits deal with them faster. Cripple Assaultron legs, shoot a Sentry Bot's fusion cores, and aim at turret barrels. Using these weak points saves ammo and shortens each fight.
Decide the Target Before You Launch
Once the missile is in the air, what decides your reward is the blast zone. If you want a high-level public event, Fissure Site Prime is the usual choice. Nuking it triggers the Scorched Earth event and summons the Scorchbeast Queen, making it the go-to option for experience, legendary gear, and event rewards. If your main goal is flux and related materials, pick a zone based on what you need—the Whitespring is one of the common blast sites.
So settle your goal before launching:
Scorchbeast Queen and public events: aim for Fissure Site Prime.
Flux and materials: pick a blast zone based on what you need.
Team runs: confirm the drop point with your squad so several players do not nuke the same spot by accident.
A nuke is a meaningful resource, so decide the target first—firing before you have a clear goal can waste the reward.
The Full Launch Flow
Before entering the silo: have the current code, two or three nuclear keycards, enough ammo, and pre-repaired mainframe cores ready.
Inside the silo: push toward the objective and do not clear every enemy just for kill rewards.
Reactor room: use terminals and lockpicking to shorten the repair step.
Mainframe room: swap in the pre-repaired cores instead of hunting and repairing on the spot.
Launch prep: focus on protecting the launch crew and skip unrelated fights.
After launch: pick the blast zone you decided on earlier.
Once you know the flow, the only part that really costs time is the final launch prep. Everything else can be trimmed through route familiarity, prepared supplies, and the right gear.
A large share of a silo run can be saved through preparation. Confirm the current code early, stock keycards and pre-repaired mainframe cores ahead of time, and use your character's skills to shorten the reactor and terminal sections; only the final launch prep has to play out normally. For players familiar with the silo route, locking in the preparation, the route, and the target choice ahead of time lets you finish a full launch in a short window. Setting up each step well matters more than simply having more firepower.


