












English


Guide
ARC Raiders: Every Enemy Type and How to Fight Them




Most people getting chased by machines on their first cave run make the same mistake: they open fire on whatever's closest. The ARC machines in ARC Raiders aren't ordinary mobs. They have armor, they have weak points, some of them call for backup, and if you play this like any other shooter, you'll end up as someone else's loot. It took me a couple hundred runs to learn how each machine behaves, so here are the enemy types and how I deal with them, so you don't have to pay the same tuition.
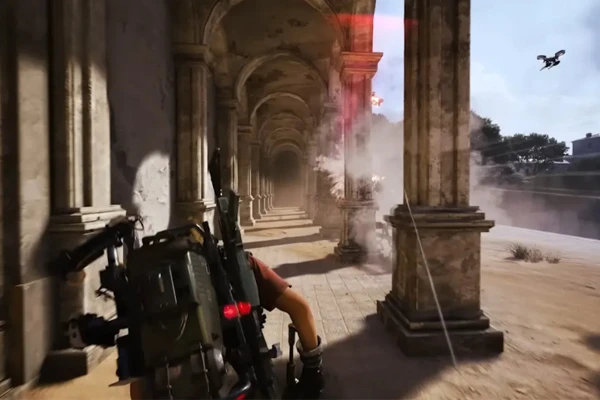
Flying machines: look up first
Whenever I enter a new area, my first instinct is always to scan the sky, because the flying ones move the fastest, shoot from the worst angles, and usually travel in packs. Leave them for last and you'll wipe more often than not.
- The Wasp is the most common small drone, and its four thrusters are the weak point. Knock out two of them and it crashes and explodes. Regular ammo is enough, so don't waste heavy ammo on it.
- The Hornet has armor up front and an electric stun that locks you in place. The right move is to circle behind it and shoot the two exposed rear thrusters.
- The Snitch can't hurt you on its own, but it'll call in a pack of Wasps and Hornets before you know it. When you see the three white propeller plates, focus it down. Two of them gone and it can't report back.
The order for these three is basically fixed: take out the Snitch first, then the Wasps, then flank the Hornets. Once the sky's clear, you can turn to the meaner flyers.
Ground pests and turrets: looks weak, plays dirty
The small machines on the ground are easy one on one, but each one's dirty trick is different. Some are suicide bombers, some are turrets tucked in a corner, and these unassuming ones are where I've died the most.
- The Tick dies in one shot, but it jumps on you to drain health. The moment you hear those six legs scuttling, clear it before it latches on.
- The Pop rolls up to your feet and self-destructs. Two or three light rounds kill it, and when it charges you, jump to high ground or strafe, don't backpedal.
- The Fireball rolls fast and spits fire. When its front panel opens to attack, shoot the unarmored core inside, one heavy round finishes it.
- For the Turret, shoot the body behind the barrel. For the Sentinel, circle behind and hit the yellow fuel canister. Fighting either head-on just wastes bullets.
The shared weakness here is that they're fragile, but only if you spot them first. Indoors especially, slow down and listen before you turn a corner, and you'll eat far fewer cheap shots.
Big machines: each one has its own death spot
These are the ones that decide whether you extract. They're tanky and hit hard, but each has a clear weak point, and learning that beats stacking raw damage.
- The Leaper is a four-legged brute that pounces and slams. Shooting its central eye strips the outer shell, Blaze grenades do real work on it, and standing in a doorway blocks its jumps.
- The Bastion is slow but covered in armor. Hit the yellow leg joints to stagger it, then circle behind and hit the yellow canister, that's where it takes the most damage.
- The Bombardier fires mortars, and it has recon drones overhead calling your position. Kill the drones first, then hit the yellow kneecaps and the rear cylinder, and unload during its reload window.
- The Comet rolls straight at you and explodes on contact. When it starts its charge, shoot the glowing red core that opens up, use a high-rate-of-fire weapon, and spread out so it can't wipe the squad.
The flying Rocketeer, Vaporizer, and Firefly, plus the new Shredder from the North Line update, all work the same way: strip armor with heavy weapons or grenades, then hit the exposed core. The Shredder hits hard up close with a shotgun, so don't trade shots with it in a tight corridor. How cleanly you handle this tier decides whether you walk out with the loot.
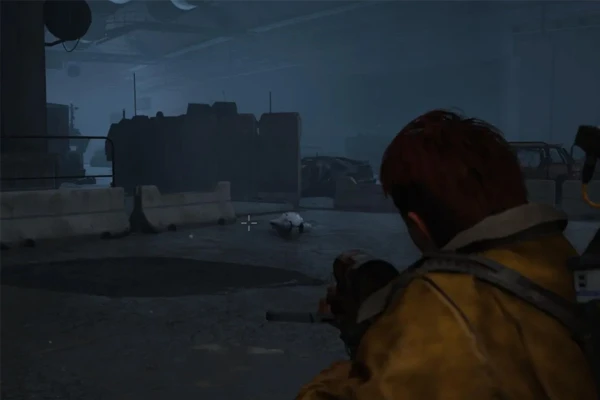
The Queen and the Matriarch: don't solo these
One step up from there is the boss tier, and I'd suggest you just drop the idea of going alone. These two can't be out-shot.
- The Queen is a large event boss that cycles mortars, lasers, and EMP while summoning smaller machines. The play is squad coordination: clear the adds first, then focus the weak point when its shield drops or during the ion beam stagger.
- The Matriarch only arrived with the November North Line update, and she's bigger and meaner than the Queen. Rockets and gas mortars are the main threat. Same drill: wait for the energy shield to drop, clear her summons first, and wear her down from range.
Both of these share one rule: the shield and the summons always take priority over the boss itself. Plenty of wipes aren't from a lack of damage, they're from greed, ignoring the adds. One more thing, the December snow update only added blizzards and cold, no new machines, so this roster is complete through the North Line.
Once you run through the whole roster, you realize no machine in this game is truly unbeatable. It's all about order and weak points. Clear the sky first, pull the ground turrets, break the big machines one death spot at a time, and pull in your squad for the bosses. Get that loop down and your extraction rate climbs on its own. Bad gear isn't what kills you. Spraying a whole magazine into armor until you've lost money on ammo is. Hope every run brings you home with the cargo.


