













English


Gameplay
ZZZ Why Is My Damage Always Falling Short?




I'm probably one of the most qualified people to talk about this. There was a stretch of time where I'd watch other players use the exact same characters — their stats weren't even that much better than mine — yet their damage numbers were more than double what I was putting out. I couldn't figure it out. Copied the gear setups. Maxed out all the skills. Levels were higher than what the guides even called for. Then I'd finish a run, check the damage breakdown, and my Yixuan was getting out-damaged by someone else's support agent. I came dangerously close to deleting my account and starting over during that period. Eventually I went through everything one piece at a time, and that's when I realized the problem had nothing to do with my gear — it was all in the small details you never think to look at.
Your team synergy is fundamentally off, and no amount of stats can make up for it
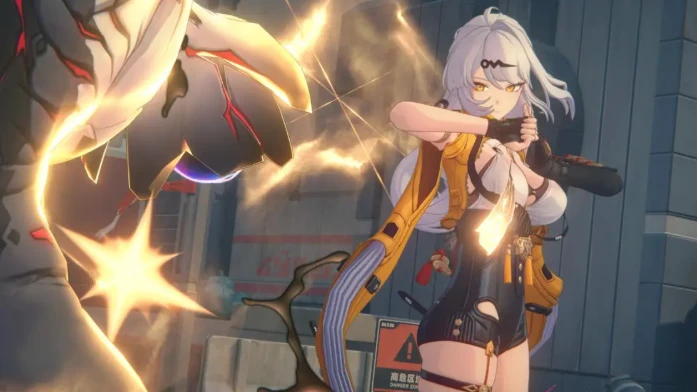
Damage in ZZZ doesn't happen in a vacuum. The buff chains between teammates are way more intricate than they appear on the surface. A lot of people just glance at whether the element colors match or slap down the three characters they saw in a guide without thinking any further. But the guide never tells you why those three specifically need to be together to produce those numbers.
- Core passive activation conditions are the first thing you need to check. Every agent's core passive has a trigger requirement written right there — "when a teammate shares the same attribute" or "when a teammate shares the same faction." If neither condition is met, that core passive might as well not exist. You're essentially running a half-functional character. Plenty of people do put two agents with matching attributes on the team, but the third slot is some random pick that connects to nothing, and the result is one or even both core passives never light up. Open the team screen and check whether every core passive icon is actually active. Any that aren't — that's your damage leak.
- Support agent buff windows are way shorter than you think. Take Astra Yao's damage buff — it looks like it's just lingering in the background the whole fight, but the actual duration is only around ten-something seconds, and you still have to switch characters after she casts for the buff to transfer to your main DPS. A lot of people's muscle memory goes: buff character casts → swap out and start your damage rotation. But between the character switch animation and the natural delay in your fingers, those two or three seconds have already eaten through nearly half the buff window. Go into the training room, turn on damage numbers, and watch what happens to your output the exact moment that buff icon disappears. That gap you see — that's the damage you've been leaving on the table.
- Bangboo aren't just mascots. A properly matched Bangboo with enough dupes can build up anomaly gauges faster than you can squeeze in an extra skill rotation. Trigger Disorder, then drop your main DPS's full burst — the total damage in that cycle with a Bangboo versus without one isn't even in the same league. When picking a Bangboo, don't just look at the element. Read the skill description for anything that says "rapid anomaly buildup" or similar. Some Bangboo have a single skill that's worth half a support agent.
The problem with your Drive Discs is never just "I didn't get good rolls"
Farming Drive Discs is probably the most soul-crushing part of ZZZ, but honestly, the reason most people's damage is low isn't that their discs aren't god-rolled — it's that their entire gearing direction was wrong from the start.
- Set bonus and main stat slot choices operate independently, but both have to be right or the whole thing falls apart. Say you've got the correct 4-piece set equipped — the set effect triggers just fine. But if your slot 6 main stat is something your character doesn't scale with at all, like energy regen on a pure ATK-scaling DPS, no set bonus in the game can salvage the base damage you're bleeding from that slot. For every character, figure out first whether they scale off crit rate, crit damage, penetration, or anomaly proficiency — lock that in, then choose your set accordingly. The two decisions work together, but a mistake on either side hurts independently.
- Don't sleep on purple Drive Discs as transitional pieces, but don't go all-in on them either. A purple set with correct main stats at +6 or +9 will comfortably carry you while you farm for gold replacements — way better than limping along with a +5 gold set where half the main stats are wrong. That said, purple discs cap at +12, not +15, and Drive Disc leveling mats and Dennies are tight enough in this game that maxing out a full purple set is a resource trap. Take them to +6, push key slots to +9 if you need the extra push, then save the rest of your mats for the gold discs you're actually going to keep.
- Stop worshipping the double-crit stat screen. Some characters don't benefit from crit at all — their core damage comes from anomaly proficiency or penetration. Their crit rate looks pathetic on paper but their actual combat damage is through the roof. Open up each character's skill detail page and check which damage multipliers their abilities actually scale with. That'll do a hundred times more for you than blindly stacking crit.
Your skill rotation order is wrong, and that means your damage never actually lands
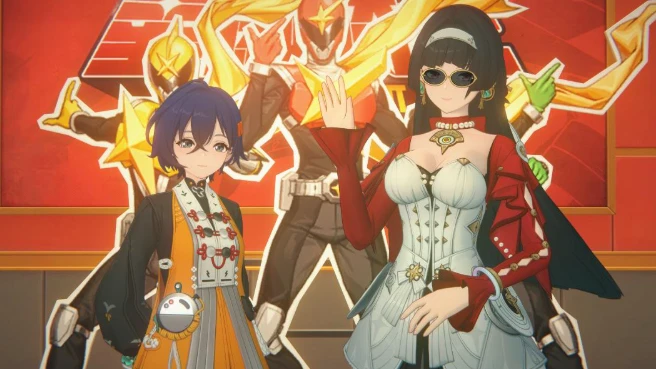
The bulk of your damage in ZZZ isn't calculated in the stat screen — it explodes during specific frames of a skill chain. You can max every skill level in the book, but if your rotation order is backwards, you're landing your hardest-hitting abilities right when the enemy's defense and damage reduction are at their peak.
- Defense shreds and resistance debuffs have to go out before your main damage lands. Reverse that order and they might as well have never been cast. A lot of people open every fight by dumping all their buff skills at once, only for their biggest hit to connect before the debuffs have even registered. The correct sequence is: debuffs first, then buffs, then swap to main DPS and unload. Don't shuffle those three steps around.
- When a stun lands and chain attacks trigger, don't waste the window cycling through low-damage support animations. Every second a support agent spends doing their chain attack animation is a second the stun damage multiplier is ticking away — and by the time you've chained through two supports to finally land your main DPS, a huge chunk of that high-vulnerability window is already gone. The smarter play is to skip unnecessary support chain attacks whenever possible, get your main DPS onto the field early, and dump your heaviest burst — ultimate, enhanced special, everything — while the stun multiplier is still at full strength.
- Energy management is something most players never look at. Sitting on a full ultimate forever is a waste of energy regeneration, but popping it the instant it fills usually means it lands outside your damage window. A small trick for timing your ultimate: watch the boss's attack cycle. Unleash it right after the boss finishes a big move or just as it's getting back up. The damage difference compared to forcing it mid-combo while the boss is still swinging is massive.
Damage falling short really comes down to three things — your buff chain is broken somewhere, your gearing direction is crooked, and your skill order is backwards. You don't need every character at M6 or every Drive Disc rolling double-crit god stats. You just need to go through your current setup from top to bottom: patch up any core passives that aren't triggering, swap out discs with mismatched main stats, and get your rotation order straightened out. Do those three things and the numbers that come out will probably surprise you. Don't rush to scrap your account. Go back and check. You'll find your team hits a lot harder than you thought.


