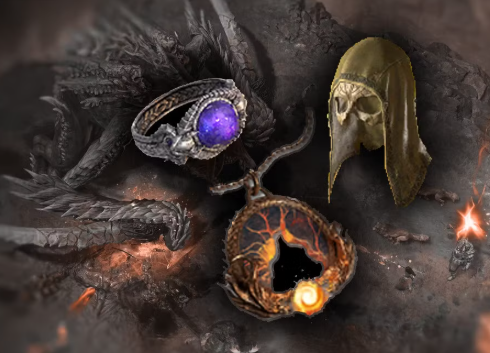
Why Repairing Matters
In Diablo 4, your gear loses durability every time your character dies. When an item's durability hits zero, it stops working entirely. This means you lose all its stats, defenses, and damage bonuses, making you extremely weak. Knowing how to repair items in Diablo 4 is therefore a basic and essential skill to keep your hero ready for battle.
This guide explains the simple process step-by-step.
Step 1: Find the Blacksmith in Town
To repair gear, you need to visit a Blacksmith. This NPC is found in almost every major town, such as Kyovashad. Look for the anvil icon on your map. Interact with the Blacksmith to open their service menu. They are your go-to person for all repairs.
Step 2: Open the Repair Menu
Talk to the Blacksmith and select the "Repair" option. This opens a special screen showing your equipped gear and the items in your backpack. You will see red bars or text indicating how damaged each piece is.
Step 3: Choose "Repair All" (The Fastest Way)
The easiest method is to click the "Repair All" button. This fixes every single damaged item you are carrying at once. The game will show the total gold cost before you confirm. This is the most efficient way, especially after a tough fight or before starting a new dungeon. Learning how to repair items in Diablo 4 efficiently starts with using this button.
Step 4: Repairing Single Items (To Save Gold)
If you are low on gold, you can repair items one by one. Simply click on individual items in your inventory on the repair screen. The cost for that single item will appear. This lets you prioritize fixing your most important weapons and armor first.
What Determines the Repair Cost?
The cost is based on the item's level and how badly it is damaged. Higher-level Legendary items cost much more to fix than low-level Common items. The gold is automatically deducted from your total. You earn gold by killing monsters, completing quests, and selling unwanted loot.
Smart Tips to Save Gold on Repairs
-
Don't repair after every death. Wait until durability is around 50% or when you're back in town for other reasons.
-
While leveling up, it's often cheaper to replace a low-level, damaged item with a new drop than to repair it.
-
Always repair all your gear before attempting a challenging Nightmare Dungeon or fighting a World Boss. A broken item at the wrong time can mean defeat. Managing your resources is a key part of how to repair items in Diablo 4 wisely.
What if My Gear Breaks Completely?
Don't panic. Items never disappear or become permanently broken. An item with 0 durability just provides no benefits. You must return to a town and use the Blacksmith to restore it. After repairing, it will be as good as new.
Repairing and Your Game Progress
Repairing becomes more critical at higher World Tiers (III and IV), where death causes greater durability loss. Make repairing part of your town routine: sell junk, visit the Blacksmith, repair all, and head back out. This habit keeps your adventures smooth.
Frequently Asked Questions (FAQ)
-
Q: Can anyone besides the Blacksmith repair items?
A: No. The Blacksmith is the only NPC who provides this service in the game.
-
Q: Does repairing remove my item's upgrades or enchants?
A: Absolutely not. Repairing only restores durability. All upgrades, gems, and affixes remain untouched.
-
Q: I have no gold to repair. What should I do?
A: Sell unused items from your backpack immediately. Focus on repairing your main weapon first so you can fight effectively to earn more gold.
Stay Ready for Battle
Understanding how to repair items in Diablo 4 is quick and simple. Locate the Blacksmith, pay some gold, and your gear is restored. By making this a regular habit, you ensure your character is always at full strength, ready to face the hellish forces of Sanctuary. Now get back out there, adventurer


 English
 Deutsch
 Français
 Español
 Italiano
 العربية