
English

Gameplay
Eternal Tower 2: Solo Completion Tips for the Urugu Canyon
Urugugu Canyon is one of the dungeons in AION 2 as shown in the official demo, and the full version is more geared towards a 4-player dungeon. However, in the demo version, NCSoft adjusted it to be a solo experience. Therefore, the key to soloing is not "brute force," but rather learning to dodge skills, recognize routes, and control the pace. The official statement also clearly states that AION 2 uses manual controls; there is no auto-combat. The core of combat is dodging, positioning, and timing hits. To solo Urugugu Canyon, the first step is not to stack damage, but to master the controls.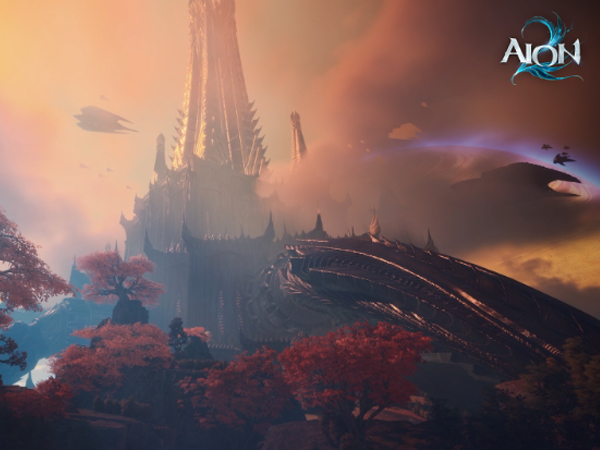
Do these things before entering the Game dungeons
Choose a class that is better suited for solo play; it will make things much easier. The official description states that Spiritmaster is inherently optimized for solo play, and the demo version confirms that all eight classes can be played solo. If you want to practice "First Steps," don't rush to pursue maximum output; prioritize sustain, damage reduction, and mobility skills. Once inside the instance, you need to weave in basic attacks during skill cooldowns. Save potions and survival skills for when you're vulnerable to powerful attacks, as AION 2 combat is manual, requiring manual aiming and dodging; there's no automatic backup.
The Importance of Signals in Ulugur Canyon: While efficiency is key in regular mob-farming maps, Ulugur Canyon is all about signals. Official reports and gameplay footage highlight the presence of wind tunnels, aerial movement, and boss area-of-effect and phased attacks. Being blown away or immobilized makes you vulnerable to combos. Inven's gameplay feedback indicates that Auldor's first phase features whirlwinds and wing attacks, causing immobilization in mid-air; the second phase includes wind vortexes and outer wind walls, with instant death upon contact with the edges. Vortex's guide also mentions that bosses in Conquest difficulty have "reflection" mechanics, requiring immediate stop and repositioning upon hearing the warning. In other words, soloing Ulugur Canyon isn't about getting greedy with extra hits, but about retreating upon seeing the warning.
Where is the easiest place to fail when soloing Ulugur Canyon?
There are three main areas where you're most likely to fail. First, being unfamiliar with the wind path and accidentally aggroing monsters while flying, resulting in taking damage before even reaching the boss. Vortex's path suggestions specifically warn against this, emphasizing prioritizing the upper levels and being mindful of aggro while gliding. Second, continuing to attack after seeing the boss raise its hand, especially with mid-bosses that have a reflection indicator; stop attacking as soon as the indicator appears. Third, the time pressure and storm rhythm of the final boss. Vortex's information states that the final boss has a time limit and will target the aggro target with its storm, potentially stunning or triggering a follow-up attack. Simply put, when soloing, don't try to use every skill to its full potential; prioritize survival.
Here's a solo guide to Urugugu Canyon:
If this is your first time in Auldor, the safest approach is: follow the route towards the mid-boss, gliding whenever possible to minimize unnecessary map movement; when you reach the mid-boss, observe the cues and ground indicators, avoiding reflection attacks and not being greedy for damage; before the final boss, save your potions, movement skills, and survival abilities. The demo also mentioned that Auldor has mechanics in the later stages that require team-wide damage sharing, but the solo demo relied on defensive skills and precise dodges to get through them. Therefore, when practicing solo, treat the "dodge window" as your most important damage window. If you can handle the first two rounds of mechanics, the rest will be much smoother.
Auldor isn't a dungeon you can easily breeze through by just relying on stats; it's more like a training ground for "reacting to cues." The official AION 2 guide clearly states the core combat direction: manual control, prioritizing dodging, important positioning, and a strong emphasis on understanding mechanics in boss fights. Applying these points to the Ulugu Canyon, the strategy for solo play becomes clear: first, familiarize yourself with the route; then, memorize the boss's dialogue and range; and finally, focus on dealing damage. Those who can consistently survive are usually more likely to clear the dungeon than those who simply spam skills.

